


Understanding Quality Control (QC) photos is your direct path to purchase satisfaction on OopBuy. This essential guide empowers you to expertly read inspection notes and identify critical details before your item ships.
Why QC Review Matters
QC photos and notes provide a transparent, pre-shipment inspection of your actual product. By carefully reviewing them, you can verify quality, accuracy, and avoid potential disappointments, ensuring you receive exactly what you expected.
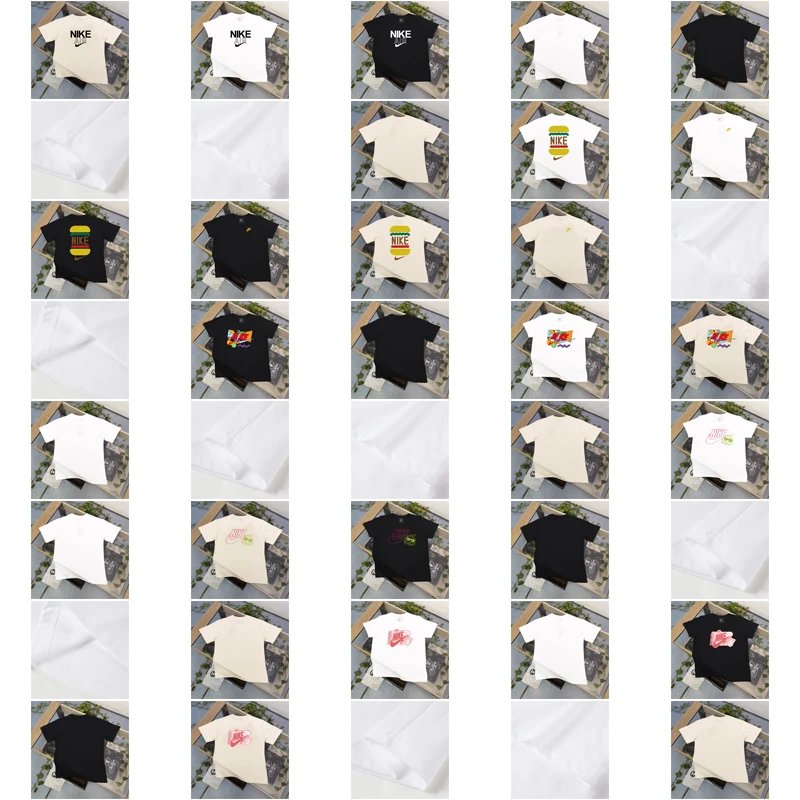
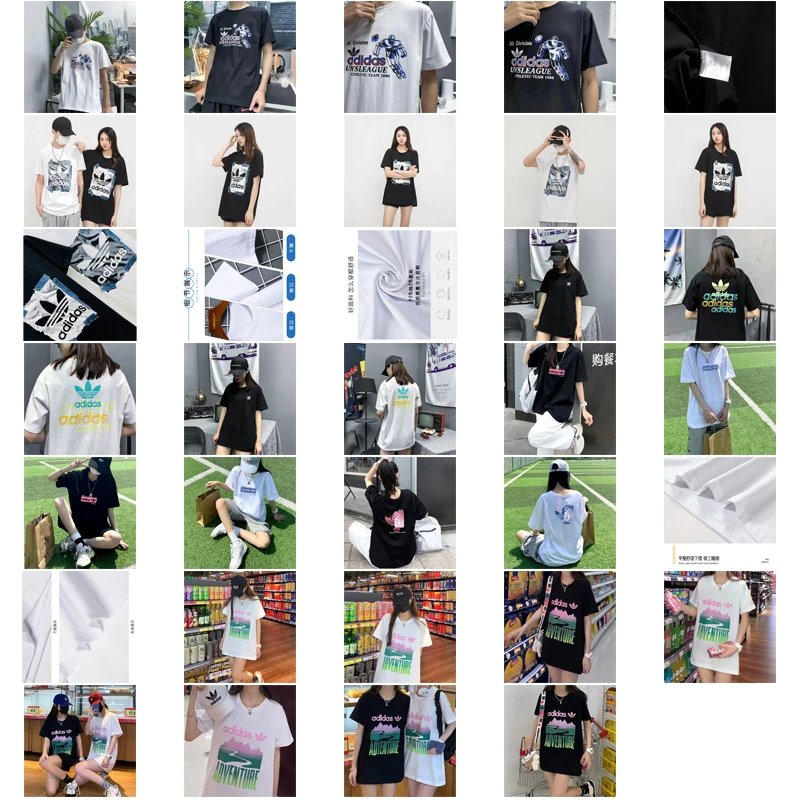
Anatomy of a QC Report
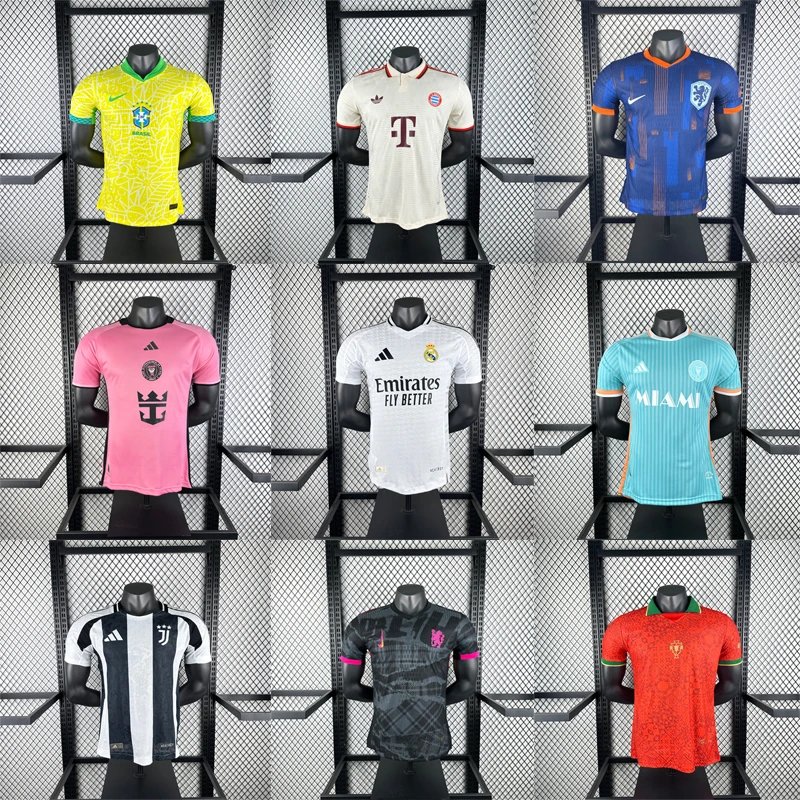
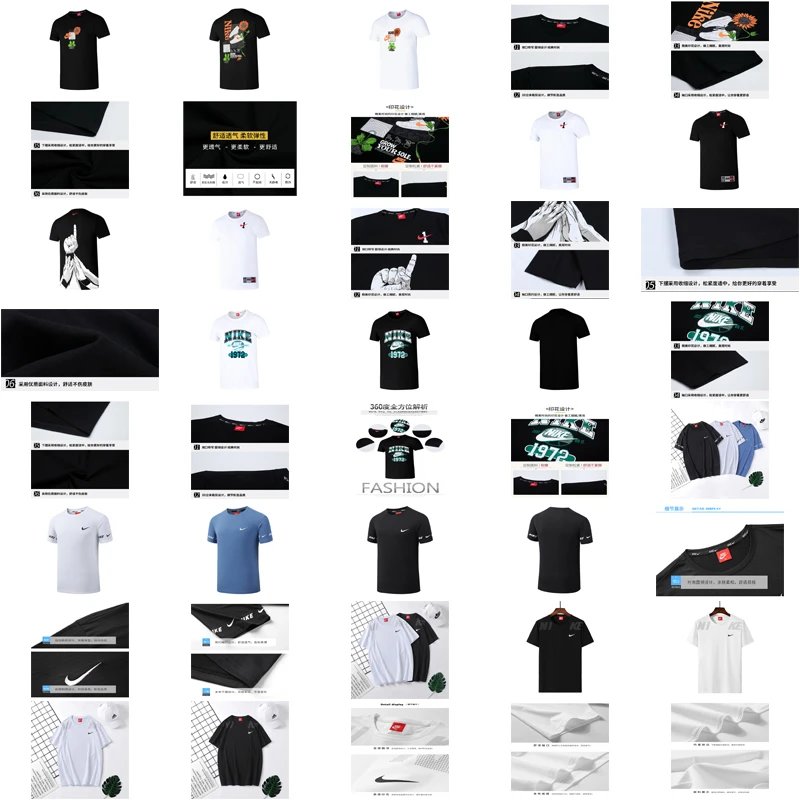
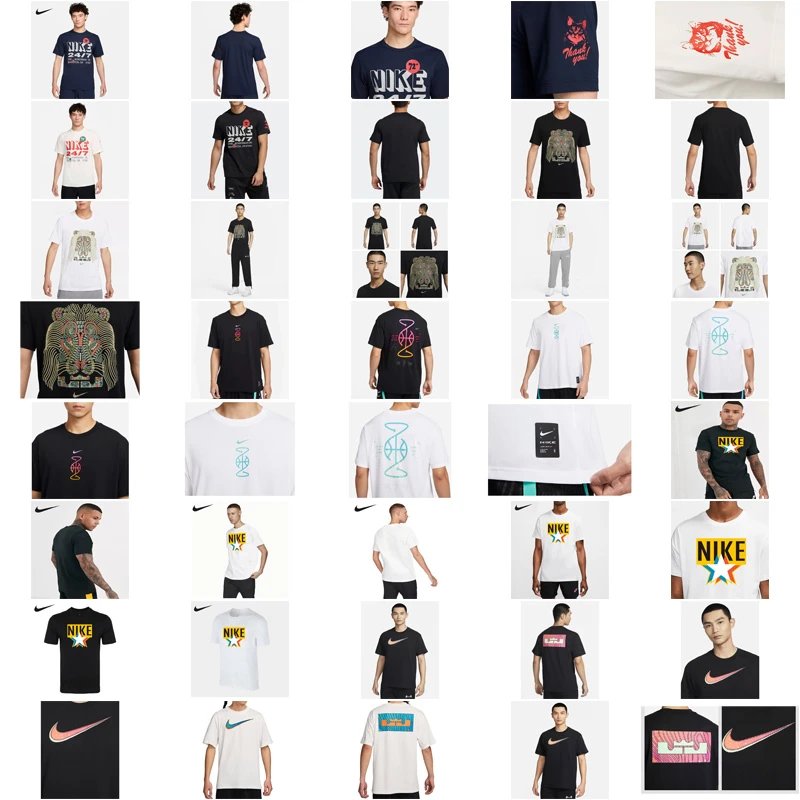
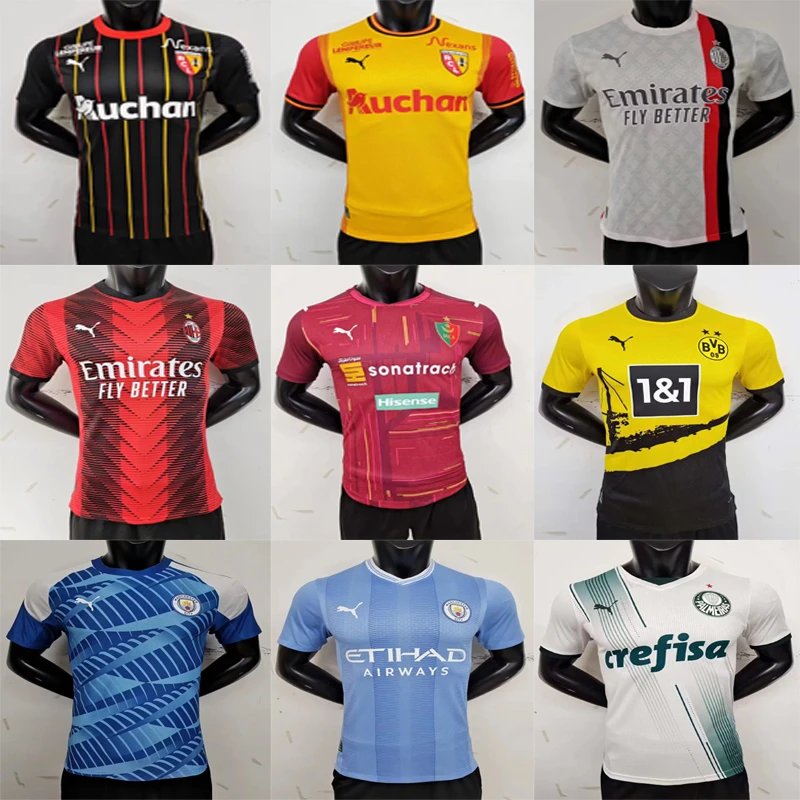
- Multiple Angles:
- Close-Up Shots:
- Inspection Notes:
- Measurement Photos:
- Close-Up Shots:
How to Spot Common Issues
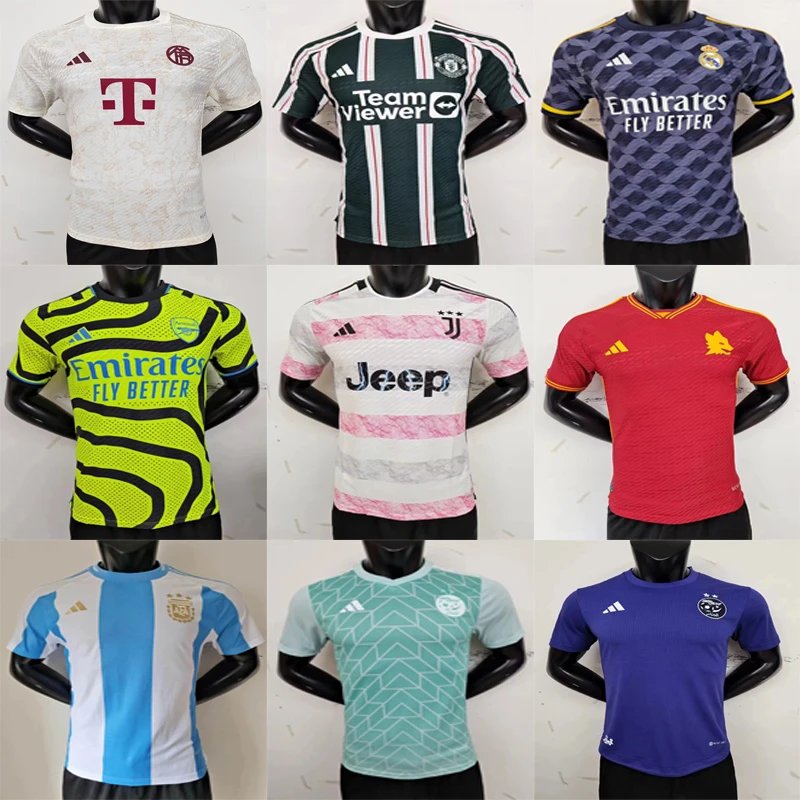
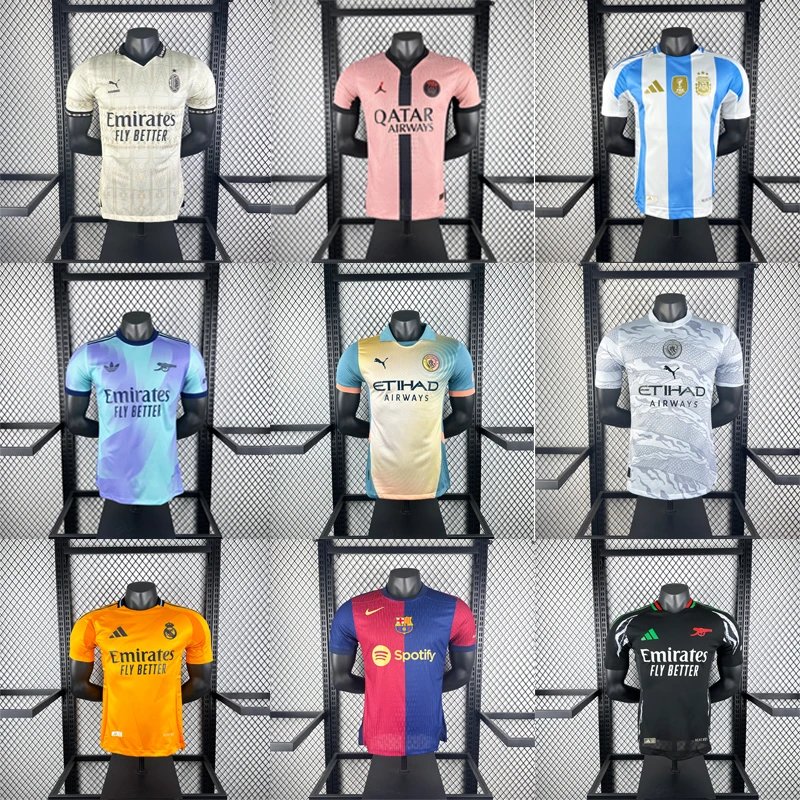
1. Color Mismatches or Discrepancies
Compare the item's color in the QC photos to official product images. Note that lighting can affect appearance. Look for consistency between different material panels or components.
2. Stitching Errors and Craftsmanship
Examine stitch lines closely. Irregular, loose, or broken stitching, especially on seams, logos, or tags, is a red flag for poor construction.
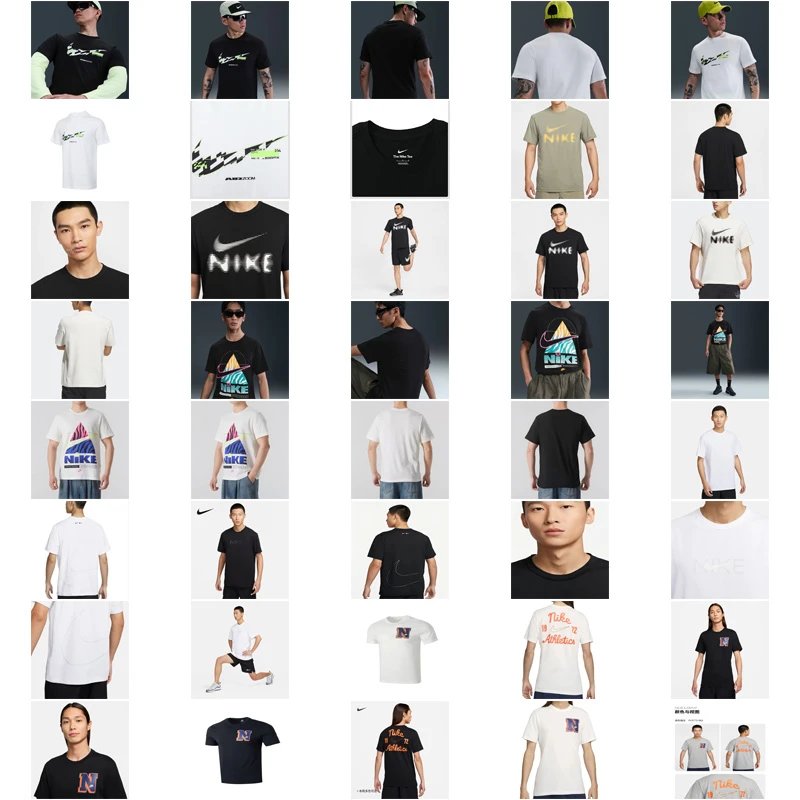
3. Missing or Incorrect Logos/Details
Verify all branding elements. Check for accurate placement, correct spelling, proper font, and size. Missing labels or tags are also notable issues.
4. Material Flaws and Construction
Look for scratches, dents, uneven patterns, glue stains, wrinkles, or misaligned components that could indicate a factory defect.
Actionable Review Tips
- Read Notes First:
- Zoom In:
- Compare Side-by-Side:
- Check Consistency:
- Ask Questions:
- Zoom In: